Natural Hair Colour at Home: How to Choose the Right Type, Shade and Finish
-1500x1001w.webp "Natural Hair Colour at Home: How to Choose the Right Type, Shade and Finish")
.webp)
If you colour your hair at home, the hardest part is not always putting the dye on. The hardest part is choosing the right colour in the first place.
- Choose the wrong type and the grey will not cover.
- Choose the wrong shade and the roots will show faster.
- Choose too dark and the shade can look heavy.
- Keep pulling dye through the ends and your hair can start to look flat, dry and overdone.
Good Box Dye should make you look better.
- Not harsh.
- Not blocky.
- Not like a helmet.
- Not shiny on day one and wrecked for weeks after.
You want dye that covers what needs covering, blends with your own shade, keeps a bit of movement and shine, and still looks like you.
That is why more customers are moving towards natural "Box Dye" ranges like Naturtint, Herbatint and Oiamiga. They want better-looking coloour, fewer harsh-feeling formulas, more ethical choices, and a dye they feel comfortable using again and again.
Because once you start covering greys, you are usually colouring for years.
So the formula matters. The shade matters. The aftercare matters. And knowing which type of colour to use makes a huge difference.
.webp)
How Hair Colour Works
These makes much more sense when you understand the hair itself.
Each hair has an outer layer called the cuticle. Think of it like tiny overlapping roof tiles. Under that is the cortex, where most of your natural colour pigment sits.
Different dye types work in different places.
- Some go into the cortex.
- Some sit more on the surface.
- Some only coat the outside until the next wash.
- Some do not really “dye” the hair at all, they just adjust the tone.
That is why permanent, semi-permanent , root touch-up and toner all behave differently.
.webp)
Permanent Hair Dye
Best for grey coverage and longer-lasting change. It is the one to choose when you want proper grey coverage or a real colour change.
It works by opening the cuticle so colour ingredients can get into the cortex. The shade then develops inside the hair shaft. Once that happens, the colour is much longer-lasting than a temporary or wash-in products.
Choose Permanent Dye if:
- you want to cover grey properly,
- you want to change your hair colour,
- your roots need more than a quick cover-up,
- you want dye that lasts,
- you are happy to maintain the regrowth.
Permanent is usually the main choice for people covering greys. But the shade choice is where most mistakes happen.
If you go too dark, it might cover well on day one, but the regrowth can look much harsher in a few weeks.
- White or silver roots against black or very dark brown show strongly.
- White roots against softer brown, chestnut, dark blonde or a blended shade are usually less severe.
Permanent dye also needs more care. If you colour the full lengths every time when only the roots need doing, the ends can grab more and more pigment. That is when hair starts to look too dark, flat or solid through the ends ( a bit like a helmet.
A natural-looking result usually comes from dyeing the roots (when the roots are the issue), and only refreshing the lengths when they actually need it.
.webp)
Why Permanent Dye Still Fades
Permanent does not mean “fresh forever”.
The colour change is long-lasting, but the finish can still fade. Shine drops. Warmth can come through. Blonde can go yellow. Brown can go dull. Red and copper tones can fade faster because those pigments are more prone to washing out and changing tone.
Colour fade happens because of:
- frequent washing,
- hot water,
- heat styling,
- sun exposure,
- hard water,
- strong shampoos,
- porous or damaged ends,
- colour build-up from old dye,
- not using colour-safe aftercare.
So even with permanent hair dye, you still need colour-safe shampoo, conditioner and masks if you want it to stay looking good.
That is the bit people underestimate. The colour gets you started. The aftercare keeps it looking expensive.
.webp)
Semi-Permanent Hair Dye
Best for shine, tone and softer shade changes. Semi-permanent dye is different.
It does not usually change the hair as deeply as permanent products. It tends to sit more on or near the surface of the shaft and then fades gradually as you wash it.
Choose semi-permanent if
- you want to refresh faded tones,
- you want more shine,
- you want to try a tone,
- you want a softer change,
- you do not need strong grey coverage,
- you want dye that gradually washes away.
Semi-permanent is lovely when it is used for the right job.
- It can brighten dull brown.
- It can add warmth.
- It can make faded shades look richer.
- It can give a softer result without the same commitment as permanent dye.
But it is not usually the best choice for stubborn grey coverage. That is the main thing to understand. If you have strong grey regrowth and you want it covered, permanent colour is usually the better tool.
.webp)
Why Semi-Permanent Dye can Sometimes “Stick”
This catches people out.
A dye may be sold as temporary or semi-permanent, but that does not always mean it disappears perfectly from every head of hair.
- Very porous hair can grab pigment.
- Bleached hair can grab pigment.
- Damaged ends can grab pigment.
- Grey or white hair can sometimes take colour unevenly.
- Very light blonde hair can hold onto strong fashion shades.
So if your shade is very light, bleached, dry, grey, white or porous, be careful with bold temporary choices like raspberry, plum, denim, silver or tangerine. They may last longer than expected or fade in a less even way.
This does not mean you should avoid fun products. It just means you should know your hair. Porous hair behaves differently from strong, uncoloured hair.
.webp)
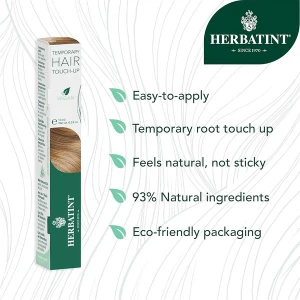
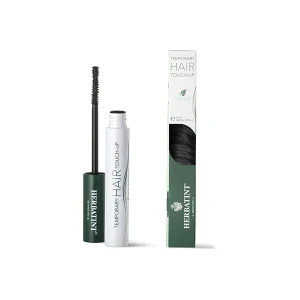
Temporary Root Touch-Up
Best for parting, temples and hairline
Root touch-up does not really dye your hair.
It covers the visible root temporarily. Think of it as make-up.
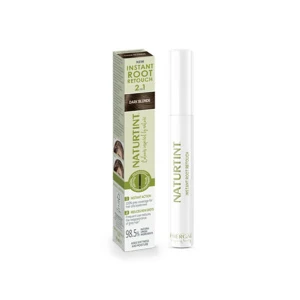
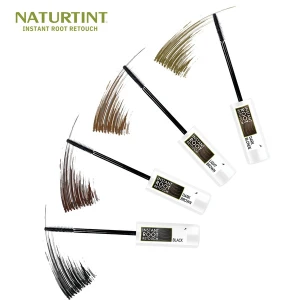
It can come as a spray, stick, powder, cream or brush-on product. You use it where the grey or regrowth is showing, usually the parting, hairline and temples.
Choose root touch-up if:
- your parting is showing,
- your temples are annoying you,
- you need a quick fix before work,
- you have an event and no time to colour,
- you want to stretch another week before dyeing,
- you only need to cover small areas.
Root touch-up is not a replacement for permanent colour. It buys time.
It is also very useful if you are trying not to colour too often. If you can use root retouch for a week or two between dyes, you may avoid colouring the whole head when only a small area is bothering you.
For the most natural result, choose the closest shade to your roots, not necessarily the darkest shade in the range. Apply lightly first, then build if needed. Too much root product can look dusty, heavy or obvious.
.webp)
Toners, Purple Shampoo and Silver Care
Toners and colour-correcting products are often misunderstood.
They are not mainly for covering grey roots. They are for adjusting tone.
Hair Dye has two parts:
- Depth means how light or dark the hair is.
- Tone means whether the colour is warm, cool, golden, ash, copper, yellow, red or neutral.
A toner usually changes the tone more than the depth.
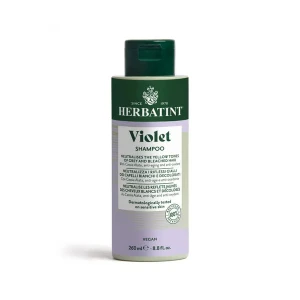
- Purple and violet products help reduce yellow tones in blonde, grey and silver shades. Purple sits opposite yellow on the colour wheel, so it helps make yellow-looking blonde appear cleaner and cooler.
- Silver care helps grey, white or silver hair look brighter and less dull.
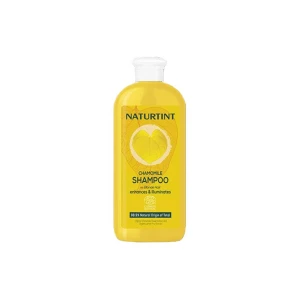
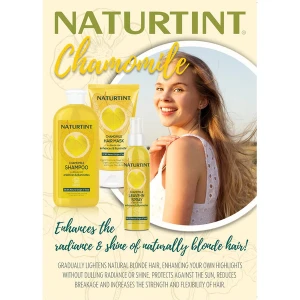
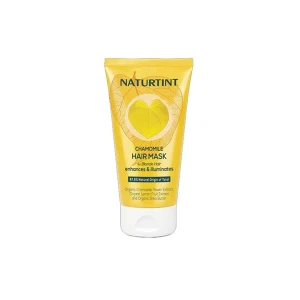
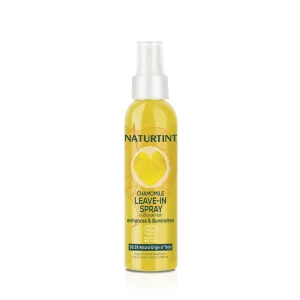
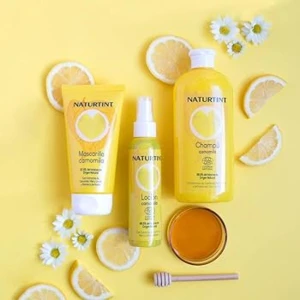
Chamomile products are often used by blonde customers who want a softer, brighter, more golden-looking blonde.
- Ash tones help calm orange or warm tones.
- Golden tones add warmth.
- Copper tones add warmth and brightness.
Choose toner or tone-correcting care if:
- your blonde looks yellow,
- your highlights look brassy,
- your grey looks dull,
- your silver hair looks flat,
- your colour is right but the tone looks wrong,
- your blonde needs brightening rather than dyeing darker.
The key point is this: toner is not magic bleach. Purple shampoo will not turn brunettes blonde. Silver care will not cover dark roots. Chamomile will not give strong grey coverage.
Use toning products when the colour level is already close, but the tone needs cleaning up.
.webp)
How to Choose a Dye for a Natural Look
This is where the real difference happens.
Most people choose dye by looking at the picture on the box.
Hairdressers look at the hair first. They look at:
- your natural depth,
- how much grey you have,
- your current shade,
- old colour on the ends,
- whether your tone is warm or cool,
- whether the condition is porous,
- your eyebrow colour,
- your skin tone,
- how much upkeep you want,
- whether you want coverage or blending.
That is why the same box can look beautiful on one person and wrong on another.
.webp)
Start with your natural depth
Depth means how light or dark you are:
- Black and very dark brown are deep shades.
- Medium brown and chestnut sit in the middle.
- Dark blonde is often much darker than people expect.
- Light blonde is high maintenance if your natural depth is much darker.
For a natural result, stay close to your natural depth, especially if you are covering grey at home.
If you are naturally medium brown, a very dark brown or black may look too harsh. If you are naturally dark blonde, jumping to deep brown may make the regrowth too obvious.
One or two levels darker or lighter is usually easier to maintain than a dramatic change.
Think about warmth and coolness
Warm shades include golden, honey, copper, caramel, chestnut and auburn tones.
Cool shades include ash, beige, pearl and some neutral brown or blonde shades.
- If your tone always pulls orange or yellow, you may need cooler tones.
- If your tone looks flat, dull or grey against your face, you may need a little warmth.
- If your skin is very fair and cool, too much orange or copper can look strong.
- If your skin is warm or golden, very ashy tones can sometimes look dull or draining.
.webp)
The most natural dye usually works with your own colouring, not against it. Use your eyebrows as a clue
- If your brows are soft brown, black may look too severe.
- If your brows are ash-toned, strong copper may look less natural.
- If your brows are warm brown, golden chestnut or chocolate may blend better.
- If your brows are very light, very dark can look more obviously dyed.
You do not need your hair and brows to match exactly, but they should make sense together.
Think about grey percentage
This is huge.
- If you only have a few greys, you may not need full permanent dye every time. Root touch-up, semi-permanent products or softer blending may be enough.
- If you are 50% grey or more, permanent dye may be needed for proper coverage.
- If you are very grey around the hairline, start applying the product there first unless the instructions say otherwise. Those are the areas people notice most.
- If you are heavily grey and choose a very dark shade, the roots may show faster because the contrast is stronger.
That brings us to the biggest mistake.
.webp)
Why darker is not always better for grey coverage
When grey starts showing, the instinct is to go darker.
You think: “I want this covered properly.” So you choose black, dark brown or the deepest shade you can find.
It may cover. But it can create a new problem. Grey roots against very dark hair are extremely obvious. The contrast is sharp. A white stripe at the parting shows faster beside black than beside a soft brown or dark blonde.
That is why very dark colour can become a trap. It looks strong at first, then the regrowth looks worse.
Darker shades can also make the face look harder. Hair frames the face. If the dye is much darker than your natural colouring, it can increase contrast around the skin. That can make lines, shadows and tiredness look stronger.
This is why many people look fresher with a slightly softer shade as they get older.
Not necessarily blonde. Not necessarily light. Just softer.
For example:
- instead of black, try dark brown or dark chestnut,
- instead of dark brown, try medium brown or chestnut,
- instead of flat brown, try chocolate or warm brown,
- instead of yellow blonde, try beige, ash or sandy blonde,
- instead of full block colour, use root touch-up between applications.
The goal is not always to erase every grey with the darkest shade possible.
The goal is to make you look better overall.
That means softer regrowth, shine, movement and a shade that suits your face.
How to avoid Helmet Hair
Helmet Dye usually comes from three things:
- the shade is too dark,
- the tone is too flat,
- dye is repeatedly pulled through the full lengths.
This is common with home colouring because people use the whole box on the whole head every time.
If only your roots are grey, your roots need the colour most. The lengths may only need a short refresh at the end, or no colour at all, depending on condition and instructions.
When old dye builds up on the ends, the hair can look dense and heavy.
- Brown becomes almost black.
- Chestnut becomes muddy.
- Blonde becomes dull.
The hair stops reflecting light properly.
For a more natural result:
- touch up the roots first,
- do not over-colour the ends,
- choose a shade close to your natural depth,
- avoid going too dark,
- use conditioner or mask through dry ends before root colouring if appropriate,
- use colour-safe care afterwards,
- use root retouch between dyes instead of dyeing too often.
Healthy-looking colour is not just about the dye. It is about not overdoing it.
.webp)
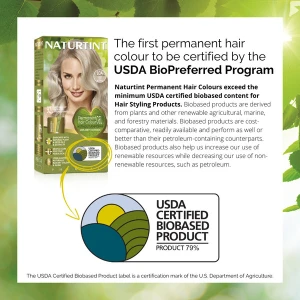
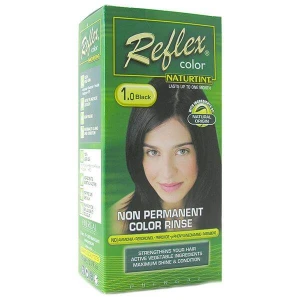
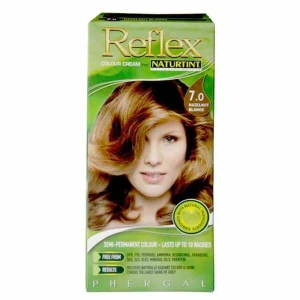
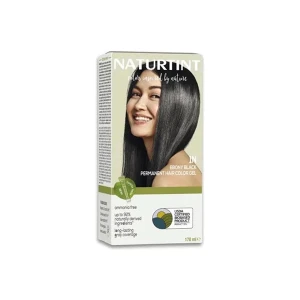
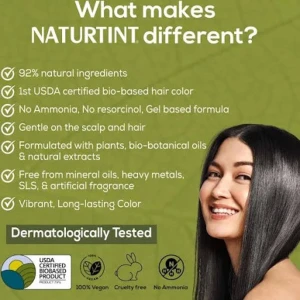
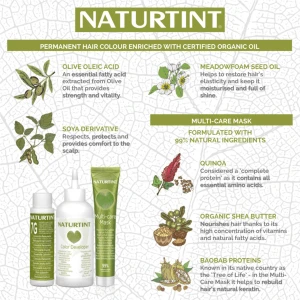
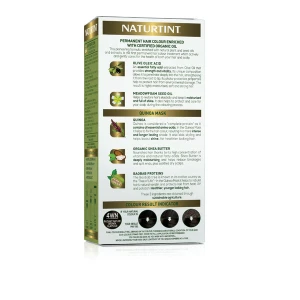
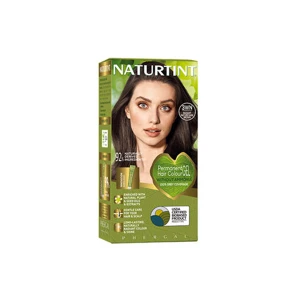
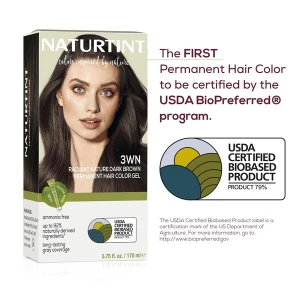
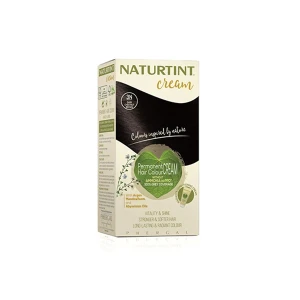
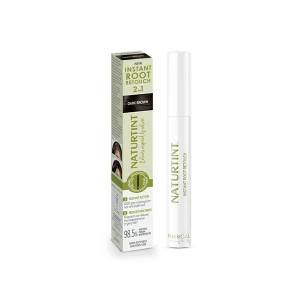
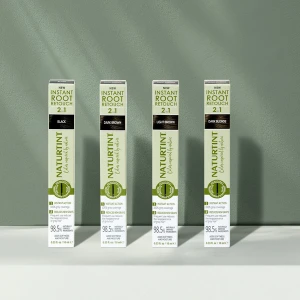
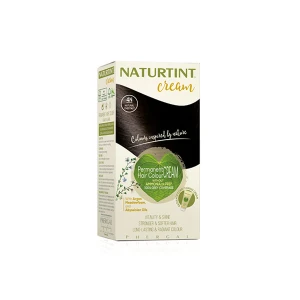
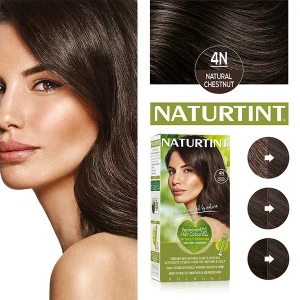
Naturtint
Best if you want a full natural products
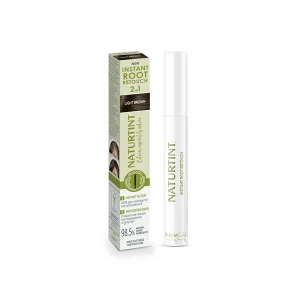
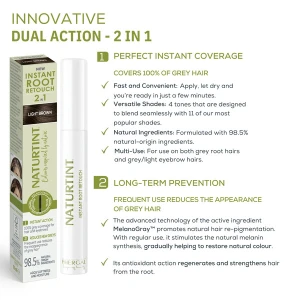
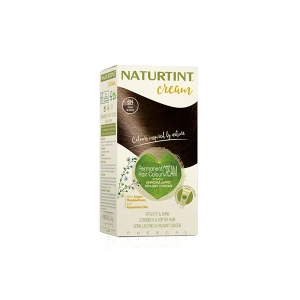
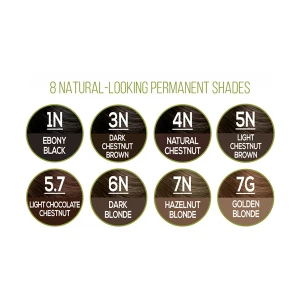
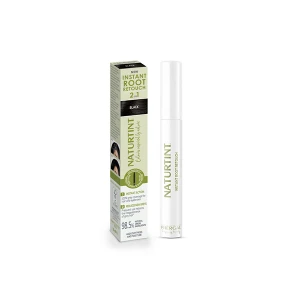
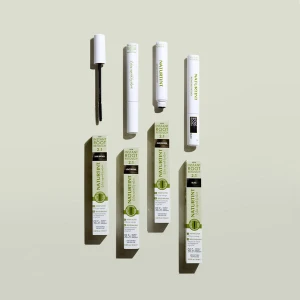
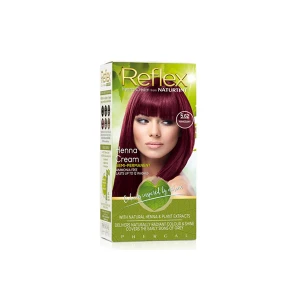
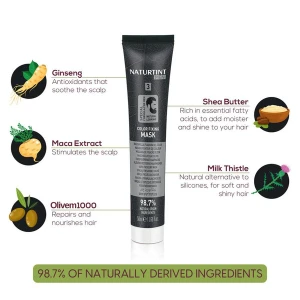
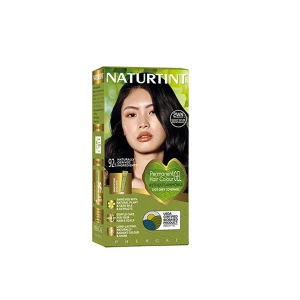
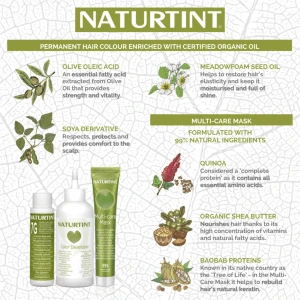
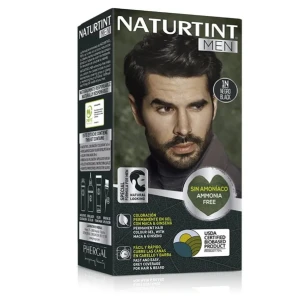
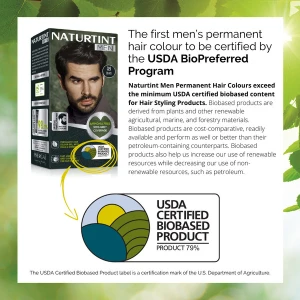
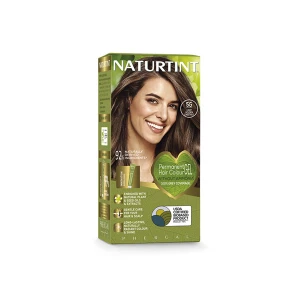
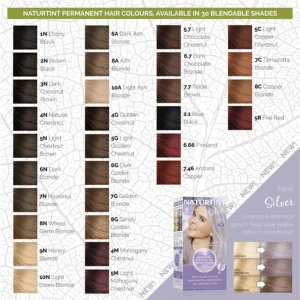
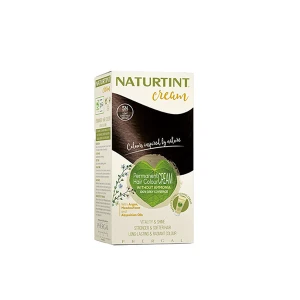
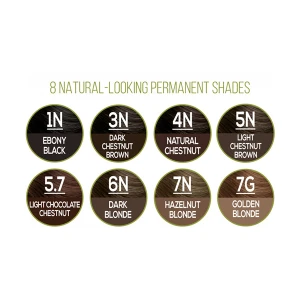
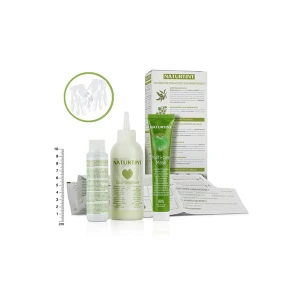
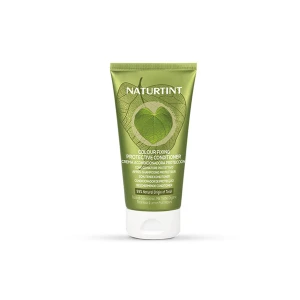
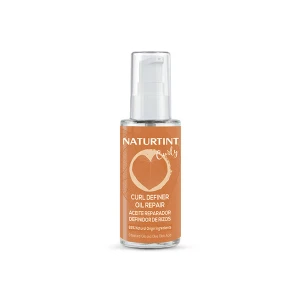
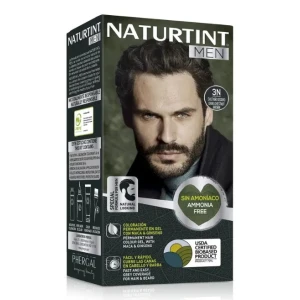
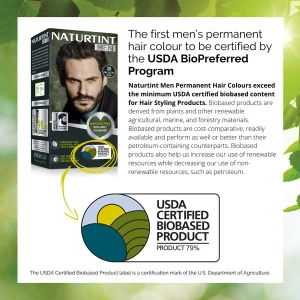
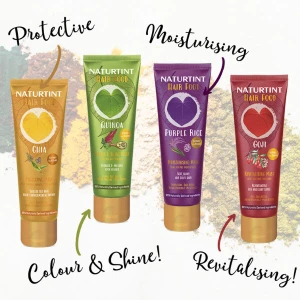
In the range, you have permanent dye, cream colour, semi-permanent Reflex colour, instant root retouch, root retouch, men’s colour, silver care, chamomile care, curly hair care and colour-fixing aftercare. That makes it practical if you colour regularly.
- You can use permanent dye when you need proper coverage.
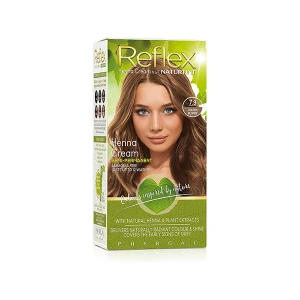
- You can use root retouch when the parting starts showing.
- You can use silver or chamomile care when blonde or grey tones need freshening.
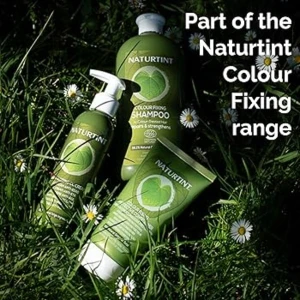
- You can use dye-fixing shampoo and conditioner to help keep the colour looking better.
Naturtint is a good fit if you want:
- a wide shade range,
- a natural dye routine,
- root cover between colours,
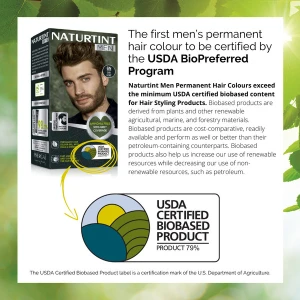
- men’s grey coverage,
- silver or blonde tone care,
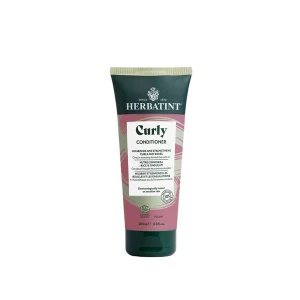
- curly hair care,
- colour-safe aftercare.
Best for the customer who wants dye, root maintenance and aftercare from a natural range.
.webp)
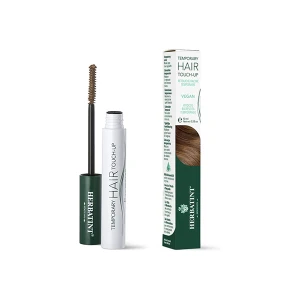
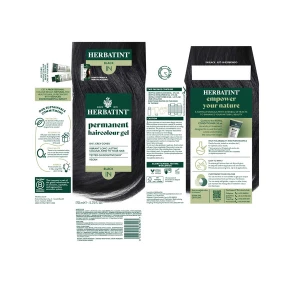
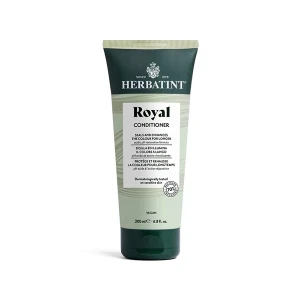
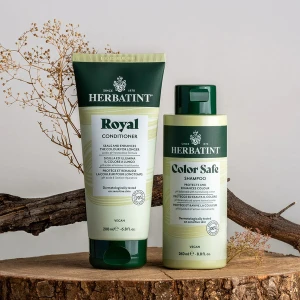
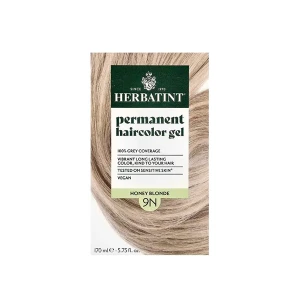
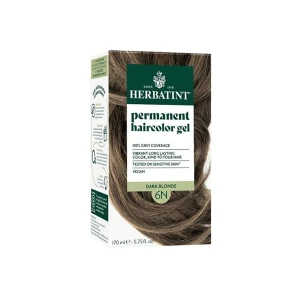
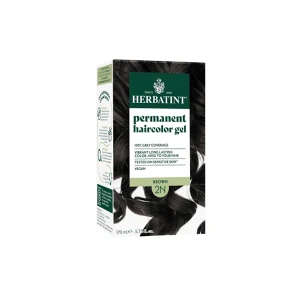
Herbatint
best for classic natural-looking dye. Herbatint has a classic health-store feel.
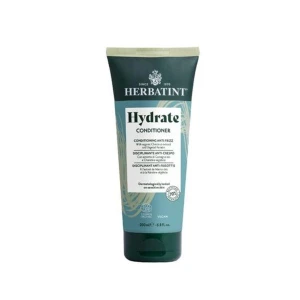
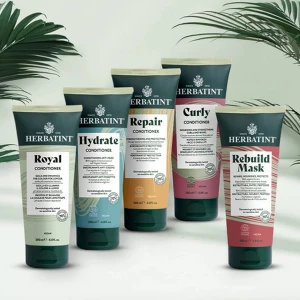
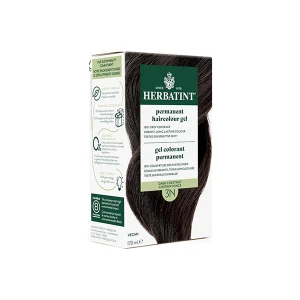
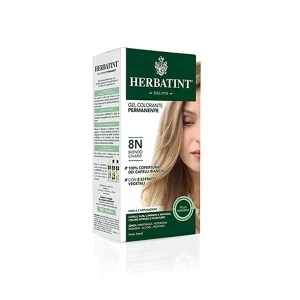
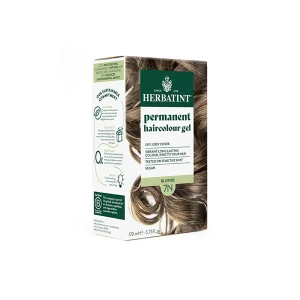
It suits customers who want natural-looking hair colour without a fashion-led feel. The range includes permanent dyes, touch-up sticks, colour-safe shampoo, conditioners, hydrate and repair products, violet shampoo and masks.
Herbatint is a good fit if you want:
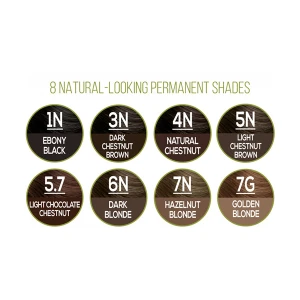
- classic black, brown, chestnut and blonde shades,
- a natural-looking finish,
- touch-up sticks for roots,
- simple colour aftercare,
- repair or hydrate care after colouring.
Best for the customer who wants a straightforward natural dye routine and does not want anything too trend-led.
.webp)
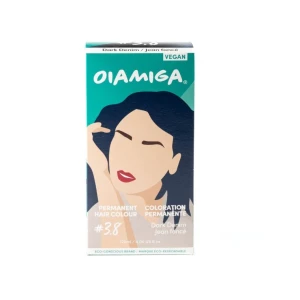
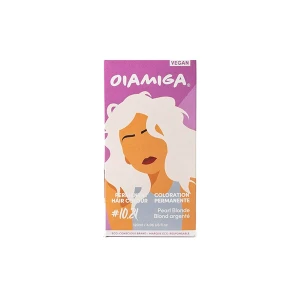
Oiamiga
Best for ethical box dyes with more personality. Oiamiga brings a different feel to the range.
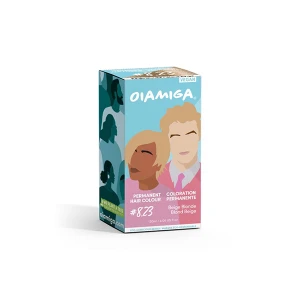
It includes natural shades like beige blonde, chocolate, dark caramel, darkest brown, jet black, light brown, medium brown and natural blonde.
It also includes bolder choices like plum, raspberry, tangerine, denim, pearl and silver.
That makes Oiamiga useful for two types of customer:
- the customer who wants vegan or ethical colour in a natural shade,
- and the customer who wants something more expressive.
Oiamiga is a good fit if you want:
- vegan beauty,
- cruelty-free choices,
- natural browns and blondes,
- bold shades,
- a more modern dye brand,
- Box dye with a bit more personality.
Best for the customer who wants ethical products, but does not want boring colour.
Natural, Organic and “Non-Chemical” Dye?
Dyes are never truly chemical-free. Water is a chemical. Plant extracts are chemicals. Colour molecules are chemicals. So the better question is not “is it chemical-free?” The more realistic questions are:
- Is it ammonia-free?
- Is it vegan?
- Is it cruelty-free?
- Does it use plant-based or naturally derived ingredients?
- Does it contain conditioning ingredients?
- Is it suitable for what I need, such as grey coverage or tone correction?
.webp)
12 Hairdresser Tips for Home Hair Dye
Do the allergy test every time
It is boring, but it matters. Dye reactions can be serious. Do the patch test exactly as the product tells you.
Do not wash your hair immediately before colouring
Freshly washed hair can leave the scalp feeling more exposed. Dye usually works well on dry hair that has not been washed immediately beforehand, unless the product instructions say otherwise.
Read the instructions before you mix anything
Once mixed, the clock starts. Read first, set up your space, then mix.
Divide your hair into four sections
Part from forehead to neck, then ear to ear. Clip each section. This helps stop patchy cover and makes roots much easier.
Start where your greys are strongest
For many people, that is the temples, hairline or parting. If grey is the main issue, these areas need careful attention.
Use petroleum jelly around the hairline
Apply a little around the forehead, ears and neck to help stop staining. Keep it on the skin, not on the hair you want coloured.
Protect Highlights & lighter Ends when colouring.
If you are only doing roots and you have lighter ends or highlights, keep permanent colour away from those lighter pieces unless you actually want to darken them. A small amount of conditioner or mask on fragile ends can help reduce colour grabbing, but keep it away from the roots you want to cover. To protect high lights when colouring use petroleum jelly on the "Blonde Bits". It can take a few washes to get fully out but it will stop the dye from being grabbed by highlights for most.
Do not pull permanent dye through the full lengths every time
If the roots are the problem, focus on the roots. Repeatedly colouring the lengths can make ends dark, dull and heavy. With root touch up you may not need to pull the the product through.
Be careful with porous ends
Dry, damaged or lightened ends can grab these products faster and darker. This is one of the main reasons home dye turns out uneven. Really work on getting your hair in good condition.
Use two timers on your phone
One timer for how long application takes, and one for development time. Do not guess. Timing affects the result.
Do not judge the colour when it is wet
Wet hair nearly always looks darker. Dry it before deciding whether it is right.
Buy the aftercare
If you want the result to last, use colour-safe shampoo, conditioner or mask. This is especially important if your hair is dry, blonde, grey, curly or dyed regularly.
.webp)
Which product type should you choose?
- Choose permanent if you want full grey coverage or a longer-lasting change.
- Choose semi-permanent if you want shine, tone refresh or a softer change.
- Choose root touch-up if you only need to cover the parting, temples or hairline between colours.
- Choose toner, purple shampoo or silver care if your blonde, grey or highlighted hair is yellow, brassy or dull.
Try chamomile care if blonde needs a softer, brighter-looking finish. Use only colour-safe aftercare if you want your shade to stay looking fresher and your hair to feel better after colouring.
Final word from the Beauty Counter
Home box dyes can look brilliant when you choose the right type, the right shade and the right aftercare.
The mistake is thinking every colour product does the same job.
- Permanent covers and changes.
- Semi-permanent refreshes and adds tone.
- Root touch-up hides visible regrowth.
- Toners correct warmth, brassiness or dullness.
- Aftercare keeps the whole thing looking better.
And if you are choosing natural hair dyes, you are usually thinking long term. You want hair that looks coloured, but not over-coloured. Covered, but not flat. Shiny, but not harsh. Fresh, but still natural.
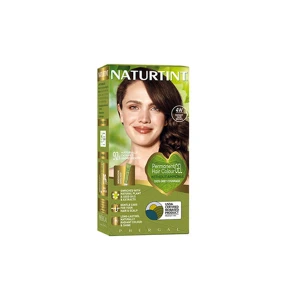
600-300x300.webp "Naturtint Permanent Gel 5C Light Copper Chestnut (170 ml)")
-300x300.webp "Naturtint Permanent Hair Colour Gel 5WB Radiant Brown (170 ml)")
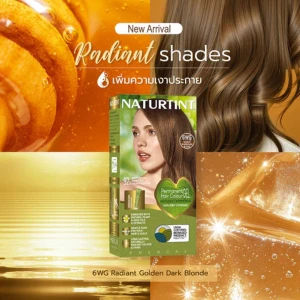
600-300x300.webp "Naturtint Permanent Hair Colour Gel 6WG Radiant Golden Brown (170 ml)")
600-300x300.webp "Naturtint Permanent Gel 6A Dark Ash Blonde (170 ml)")

600-300x300.webp "Oiamiga Silver Permanent Hair Colour (120 Ml)")

600-300x300.webp "Naturtint Men Permanent Hair Colour Gel 5N Light Chestnut Brown (170 ml)")
600-300x300.webp "Naturtint Permanent Gel 7.7 Teide Brown (170 ml)")
600-300x300.webp "Naturtint Men Permanent Hair Colour Gel 4N Natural Chestnut Brown (170 ml)")
600-300x300.webp "Naturtint Men Permanent Hair Colour Gel 6N Dark Blonde (170 ml)")
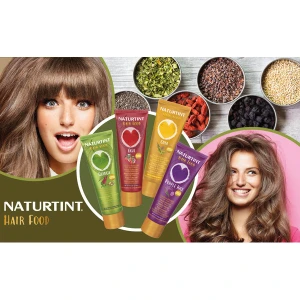
600-300x300.webp "Naturtint Hair Food Chia Protective Mask (150 Ml)")
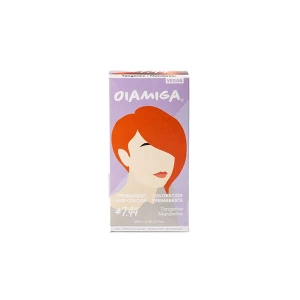

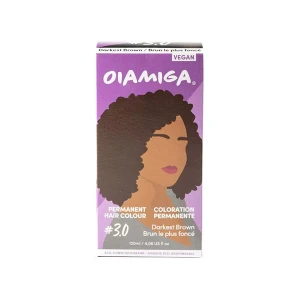


600-300x300.webp "Oiamiga Dark Caramel Permanent Hair Colour (120 ml)")

600-300x300.webp "Naturtint Permanent Gel 10N Light Dawn Blonde (170 ml)")
600-300x300.webp "Oiamiga Dark Denim Permanent Hair Colour (120 ml)")
600-300x300.webp "Naturtint Permanent Gel 5M Light Mahogony Chestnut (170 ml)")

600-300x300.webp "Naturtint Men Permanent Hair Colour Gel 7N Hazelnut (170 ml)")
600-300x300.webp "Naturtint Colour Fixing Shampoo (400 ml)")
600-300x300.webp "Naturtint Permanent Gel 10A Light Ash Blonde (170 ml)")